Home » Printer » How To Use A Laminator? DIY Guide
How To Use A Laminator? DIY Guide
As an Amazon Associate, I earn from qualifying purchases.
As comfortable as equipping a laminator machine seems, you can make the wipe-off worksheets for your students and kids with seeming ease. But, how to use a laminator? Is it tricky or straightforward?
You’re at the right place. We’ve drafted a detailed guide that could fulfil your needs. Keep reading to discuss more.
We will have our manual into three steps. Just take a minute to read our directions and you will solve your problem.
Loading Documents Into The Pouch
First off in answering how to use a laminator, it is the size of laminating pouches. There are many sizes in the market to meet everyone’s demands. Give top priority to learning what kinds of pouch can fit your Laminator machine. The pouch’s folded side must be smaller than the place where you feed the pouch, and it’s a must that the laminating documents fit the pouch’s inside.
While working on a small project, it’s necessary to prevent wasting the pouch’s parts using a more miniature sheet. Hence, consider buying smaller pouches instead of big ones.
Next is picking the pouch with the right thickness based on your requirements and lamination’s size. The lamination machine’s durability also depends on the pouch’s thickness, which often ranges from 3 to 14 mm.
Several models could handle pouches of 3-5 mm thickness, but others cannot deal with even thicker pouches. In such cases, read the instructions accompanied by the machine’s package.
The next, most important step, is getting started. It’s time to lay the documents inside your pouch. Let’s get started with the folded edge of the pouch. Get it opened up and place the paper against it. Remember to leave enough space between the pouch’s borders and the documents. Then, seal and close your pouch.
If you would like to insert a couple of documents, cards, or papers inside the laminator simultaneously, put them inside the pouch after leaving enough space between them.
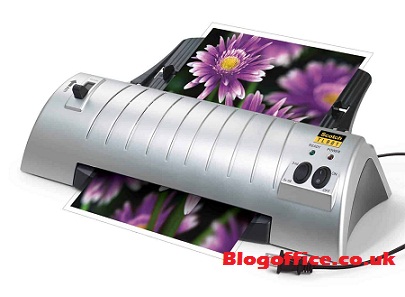
A high-end laminator
Putting The Pouch In The Laminator
Also an important step, but this step is even easier than the previous one. Turn on your laminator and wait from 30 seconds to 15 minutes until it warms up.
Why does your machine have to heat up? It is because the glue needs some activation. To identify whether your device is warmed up or not, observe the indicator. It will light up once everything is ready.
Then, the temperature needs adjusting based on the film’s thickness and the speed of the machine. The rate could determine how fast your pouch film goes through the laminator. To get the perfect pace for your pouch, read the chart that came with the device carefully.
Then, pick the film up and place the folded edge between two rollers, but do not let the paper move inside the film. Set the paper straight and place it at an angle to make it crump. The machine will grab the film and take care of the rest of the task. It may take you up to 2 minutes for your pouch to get through the rollers.
Once finished, take the paper out and let it cool prior to trimming.
How To Improve Your Lamination Process?
Laminating Two Sheets Together
Improving the work is also part of how to use a laminator. More often than not, the ink may bleed if you try printing on both sides of the paper. To avoid this, take the prints on two distinguished sheets.
Next, continue lining up those sheets back inside the pouch and have them laminated, which can help you create a two-sided sheet effectively.
Finally, carry out the sheet trimming. Make sure you leave enough space around the sheet’s edges.
Use a Folder to Avoid Moving the Pouch
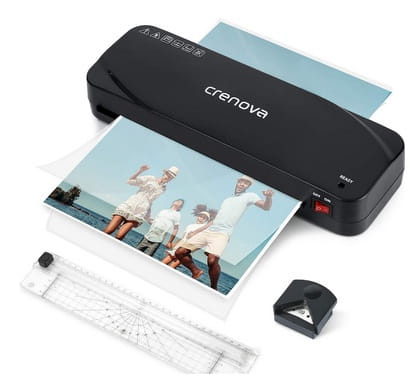
Have you ever used a laminator?
If you find it challenging to keep the pouch straight, it’s a good idea to use a filing folder and put it at the film’s bottom.
Keep the folded edge away from the folder’s top for 5.08 to 7.62 cm before putting it into the rollers. But do not let the folder come through the rollers much. Just keep it in place and only pull the page slip through your machine.
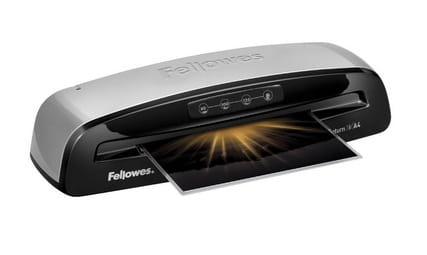
Release Button
A great concern is the jams and crinkles. This problem occurs when somebody places the documents at an angle between the machine’s rollers. Once you realize this case takes place, do not put your pouch through the machine. It would help if you pressed the “Reverse’’ or “Release’’ button to pull out the film.
Before you remove the jammed pouch, several laminators will require you to turn it off. Follow the booklets of laminators.
Furthermore, let’s draw attention to the temperature as inappropriate temperature could cause several problems when laminating the document. Besides, considering the correct pouch’s thickness and buying a suitable laminator machine is very vital.
You’ve just gained an understanding of ‘’how to use a laminator’’. In reality, the entire process of laminating documents is likely to be simple. All you should do is follow the fundamental directions in the booklets. Unfortunately, many make big mistakes because they insist on using the machine without referring to the guidelines in advance. Hope our article helped!